Face Detector
This article mainly introduces how to use HornedSungem to load the SSD-Mobilenet convolutional neural network on the Android platform to realize face detection.
Preparation
- For details on the configuration environment, please refer to quick start, I will not elaborate here.
- Download the model graph_face_SSD required for face detection, In your Android Studio, create a new assets package under the current module, copy the downloaded model file to this directory.
- Because the project needs to process and display the image, the javacv library is use. Developers can download it from GitHub or copy it from the official sample project to their own project.
Implementation
1.Implementation steps:
First open the device:
int status = openDevice();
if (status != ConnectStatus.HS_OK) {
  return;
}
Create an instance of a Graph that represents a neural network
int id = allocateGraphByAssets("graph_face_SSD");If the single model, the ID is 0, you do not need to maintain this property.
Processing image data in two modes
Use HornedSungem built-in camera:
byte[] bytes = getImage(0.007843f, 1.0f,id);Use an external image source: In this mode, the data of the incoming HornedSungem needs to be preprocessed. The example described below is the data using the mobile phone camera. The image size is 1280*720:
SoftReference<Bitmap> softRef = new SoftReference<>(Bitmap.createBitmap(1280, 720, Bitmap.Config.ARGB_8888));
Bitmap bitmap = softRef.get();
allocations[0].copyTo(bitmap);
Matrix matrix = new Matrix();
matrix.postScale(300f / 1280, 300f / 720);
Bitmap newbm = Bitmap.createBitmap(bitmap, 0, 0, 1280, 720, matrix,true);
int[] ints = new int[300 * 300];
newbm.getPixels(ints, 0, 300, 0, 0, 300, 300);
float[] float_tensor = new float[300 * 300 * 3];
for (int j = 0; j < 300 * 300; j++) {
float_tensor[j * 3] = Color.red(ints[j]) * 0.007843f - 1;
float_tensor[j * 3 + 1] = Color.green(ints[j]) * 0.007843f - 1;
float_tensor[j * 3 + 2] = Color.blue(ints[j]) * 0.007843f - 1;
}
int status_load = mFaceDetectorBySelfThread.loadTensor(float_tensor, float_tensor.length, id);
Get the returned processing result, the mobilenetssd type of neural network, the returned results are parsed as follows:
float[] result = getResult(id);
int num = (int) floats[0];
for (int i = 0; i < num; i++) {
int x1 = (int) (floats[7 * (i + 1) + 3] * screenwidth);
int y1 = (int) (floats[7 * (i + 1) + 4] * screenheight);
int x2 = (int) (floats[7 * (i + 1) + 5] * screenwidth);
int y2 = (int) (floats[7 * (i + 1) + 6] * screenheight);
int wight = x2 - x1;
int height = y2 - y1;
int percentage = (int) (floats[7 * (i + 1) + 2] * 100);
if (percentage <= 55) {
    continue;
  }
if (wight >= screenwidth * 0.8 || height >= screenheight * 0.8) {
    continue;
  }
if (x1 < 0 || x2 < 0 || y1 < 0 || y2 < 0 || wight < 0 || height < 0) {
    continue;
  }
}
Display the returned results on the screen.
2.Node:
Handling image difference: In the camera mode built into HornedSungem, if zoom is ture, the acquired image is a 640*360 BGR image. If zoom is false, the acquired image is 1920*1080, and the image needs to be sorted. Note that 1080P is that the data of each channel of BGR will pass through the next channel. The specific processing example code is as follows:
opencv_core.IplImage bgrImage = null;
  if (zoom) {
    FRAME_W = 640;
    FRAME_H = 360;
    bgrImage = opencv_core.IplImage.create(FRAME_W, FRAME_H, opencv_core.IPL_DEPTH_8U, 3);
    bgrImage.getByteBuffer().put(bytes);
  } else {
      FRAME_W = 1920;
      FRAME_H = 1080;
      byte[] bytes_rgb = new byte[FRAME_W * FRAME_H * 3];
      for (int i = 0; i < FRAME_H * FRAME_W; i++) {
          bytes_rgb[i * 3 + 2] = bytes[i];//r
          bytes_rgb[i * 3 + 1] = bytes[FRAME_W * FRAME_H + i];//g
          bytes_rgb[i * 3] = bytes[FRAME_W * FRAME_H * 2 + i];//b
         }
      bgrImage = opencv_core.IplImage.create(FRAME_W, FRAME_H, opencv_core.IPL_DEPTH_8U, 3);
      bgrImage.getByteBuffer().put(bytes_rgb);
     }
opencv_core.IplImage image = opencv_core.IplImage.create(FRAME_W, FRAME_H, opencv_core.IPL_DEPTH_8U, 4);
cvCvtColor(bgrImage, image, CV_BGR2RGBA);
Return:
- 7 numbers are a group.
- The first number of the first set of arrays represents how many personal faces are detected, and the remaining are useless.
- The third number of each set of data is confidence, and the remaining four numbers are the coordinates of the top, bottom, left, and right.
- Value type is float32.
3.Showing results:
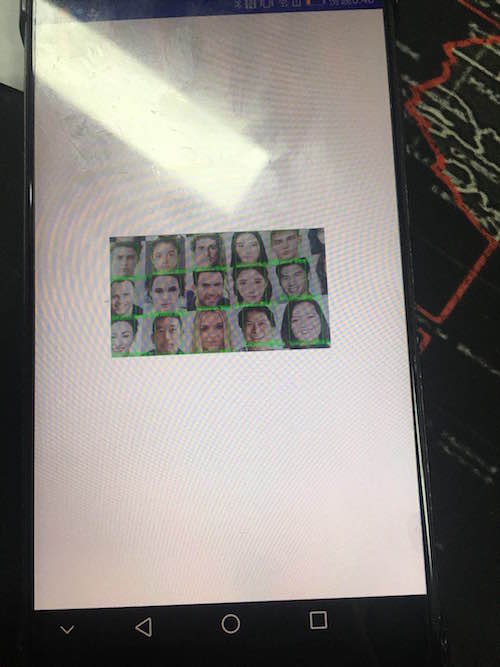
Friendly Node: Because Android devices are basically USB2.0, the transmission is time consuming, there will be a feeling of stagnation, so it is not recommended to use 1080P images, you can use 360P images, spread the screen.
The code can be downloaded from GitHub, the address is as follows SungemSDK-AndroidExamples